
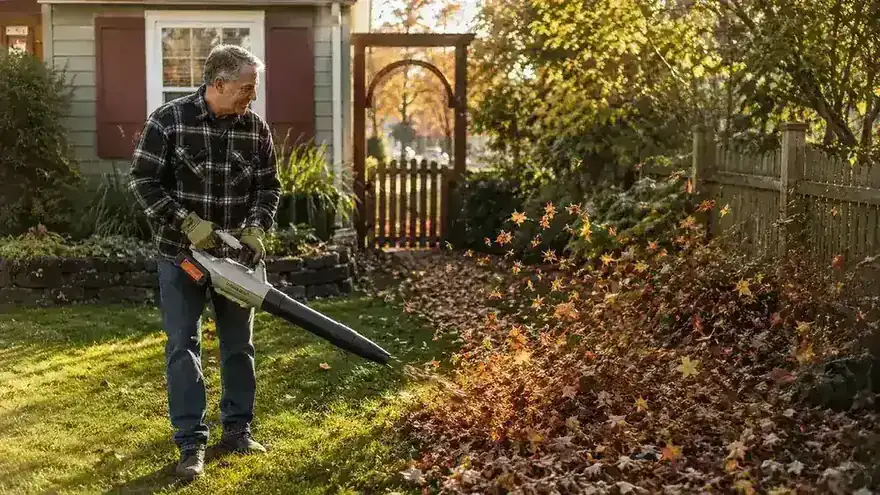
I used to spend most of a Saturday on leaf cleanup. Half that time was fighting the wind, chasing stray piles across the driveway, and running out of cord on my old electric blower before I was halfway through the side yard. My back would let me know about it for the next three days. If that sounds familiar, the problem almost certainly isn't your blower. It's the approach.
Over the past two fall seasons I've dialed in a system using the Makita DUB185Z cordless handheld blower that gets my entire third-of-an-acre yard cleared, bagged, and done in well under an hour. I'm 67. My knees are not great. When I say this is manageable, I mean for a real person with a real body, not someone running drills for a yard-care competition. The five steps below are exactly what I do, start to finish, every time.
Your yard doesn't have to be a half-day project anymore.
The Makita DUB185Z runs on the same 18V LXT batteries already in millions of shops and garages. At roughly 5.3 lbs without the battery it's light enough to swing at a low angle for an extended session without your wrist screaming. Check the current price before the fall rush drives it up.
Amazon Check Today's Price on Amazon →Step 1: Charge Both Batteries the Night Before
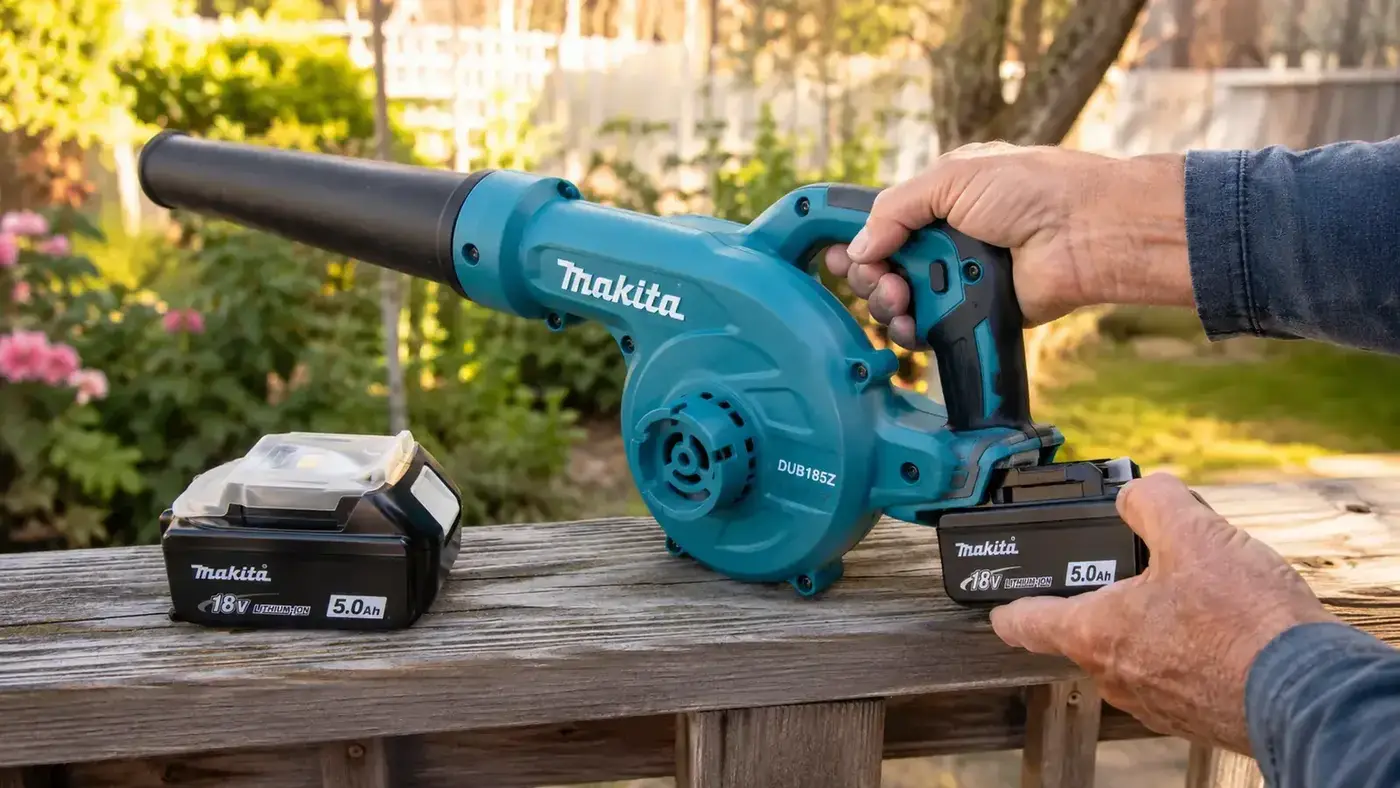
This sounds obvious but it genuinely changes the whole morning. The DUB185Z runs on Makita 18V LXT batteries. A single fully-charged 5.0Ah battery gets me about 25 to 30 minutes of real blowing time. That's not the 40 minutes on the spec sheet. Spec sheets measure continuous low-load draw, and a yard covered in fall leaves at full speed is not a low-load situation.
Two batteries means no waiting. When the first one dies, I click the second one in and keep going without breaking stride. I leave the spent battery on the charger as I work. By the time I'm raking the last windrow into bags, that first battery is already half-recharged. If you only own one 18V LXT battery, adding a second one is the single biggest upgrade you can make to fall cleanup. One battery has you standing in the yard waiting. Two batteries have you finishing and going inside.
A note on capacity: the 3.0Ah compact batteries work but I prefer a 5.0Ah for leaf sessions. The extra weight is real, especially over the course of 45 minutes. If grip fatigue or wrist strain is a concern for you, start with a 3.0Ah and swap more frequently. The blower is the same either way. What matters is that both batteries are fully charged before you walk out the door.
Step 2: Walk the Yard and Pick Your Collection Corner
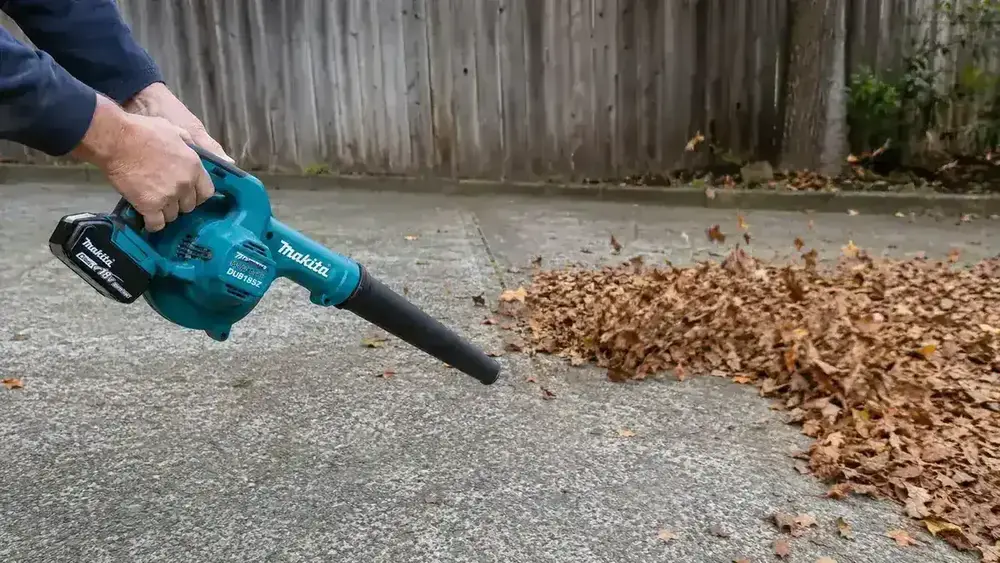
Before you turn the blower on, take two minutes to walk the yard and decide where your collection pile is going. I call this the collection corner. It should be the spot that requires the fewest direction changes with the blower, usually downwind from the bulk of the yard and at the end farthest from wherever you have to haul the bags.
My yard runs east to west. The prevailing fall wind here in Ohio comes from the west in the afternoon, so I always collect in the northeast corner. That means I'm blowing with the wind on most passes, which cuts real-world effort in half on dry days. On still or wet days the collection spot matters less, but deciding on it before you start still prevents the classic mistake: blowing everything to the middle of the yard and then having to move it again. It happens to everyone at least once.
Picking your collection corner before you touch the blower is worth more than any speed setting. It's the difference between clearing the yard in 50 minutes and spending three hours chasing the same pile in circles.
Step 3: Divide the Yard Into Quadrants and Work Lane by Lane
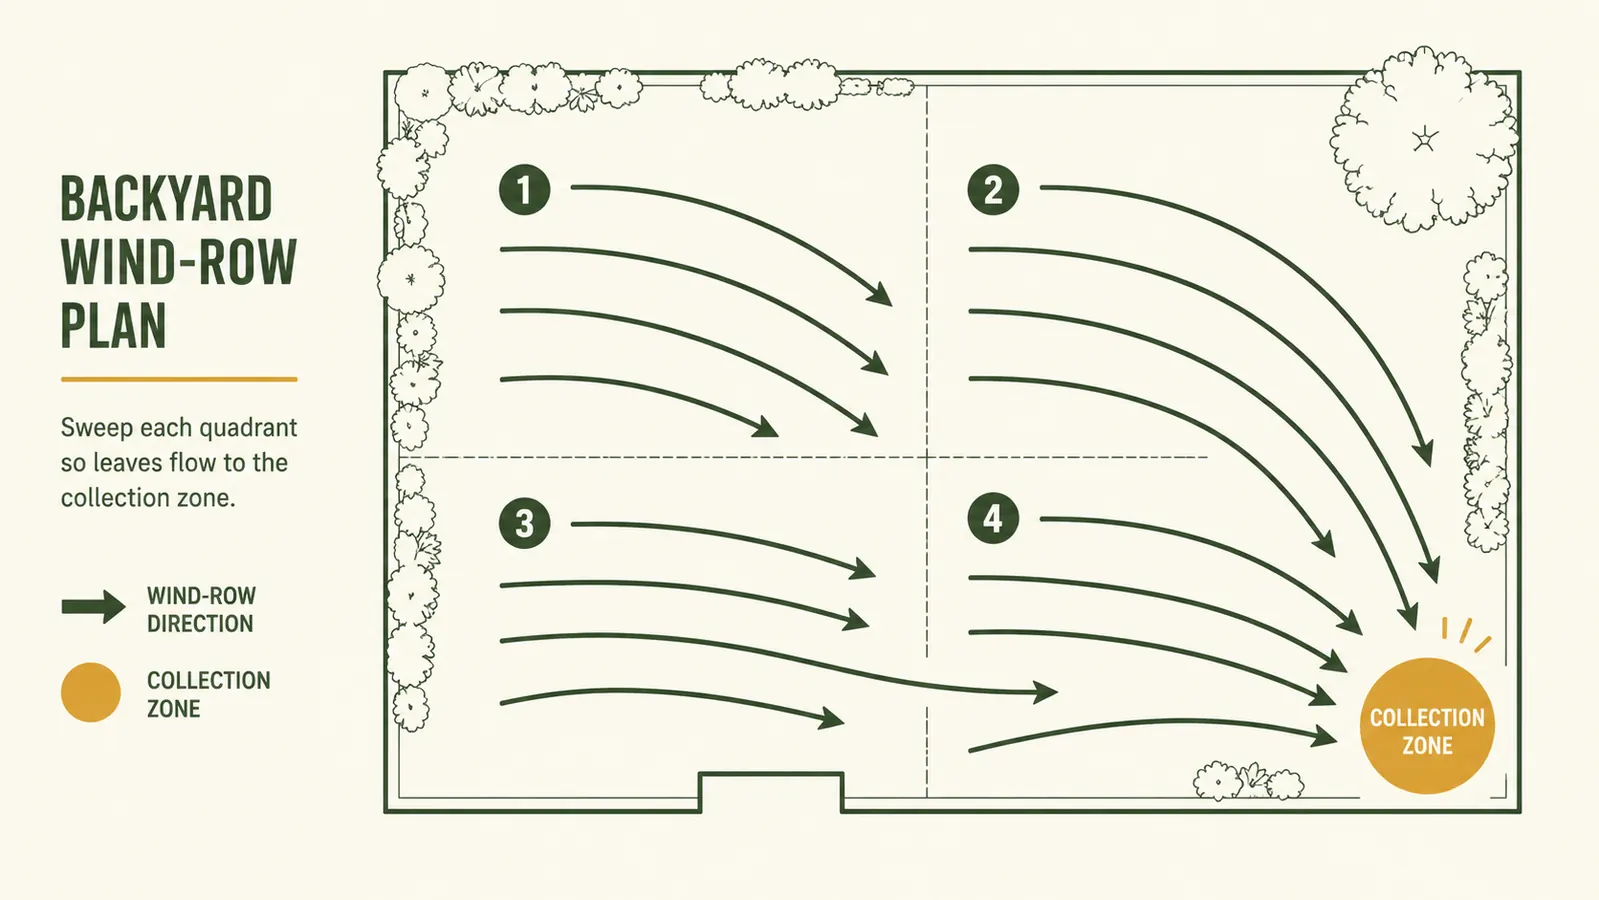
This is the wind-rows method. It's the one technique that separates a fast clean yard from a messy half-finished one. Divide the yard into four rough sections in your head. Start at the corner farthest from your collection zone. Work one lane at a time, sweeping leaves sideways toward the center, building a long row, then pushing that row toward the collection corner as you move down the lane.
The DUB185Z has two speed settings. I use the low setting on loose dry leaves and flip to high on anything damp or matted down. On high speed the blower moves air at roughly 79 mph, which is enough to shift leaves that have been sitting in light rain for a day or two. It won't move leaves that have been soaked for several days and fused into a heavy mat. No handheld blower will. If the leaves are that wet, give the yard one more day to dry. Fighting soaked leaves with any handheld blower is slow work that isn't worth your time or your back.
Each lane takes me two or three passes. I'm not chasing every leaf on the first pass. The goal is to move 90 percent of the volume into a manageable row, then consolidate. Perfectionists struggle with leaf cleanup because they slow down on each lane trying to get it perfect. Get the bulk of it and keep moving. The last 10 percent evens out when you push the rows together at the end.
Stick to the same quadrant order every time and you'll stop second-guessing which area you've already covered. I always go farthest-from-collection to nearest: upper far, lower far, upper near, lower near. That way I'm always pushing leaves toward an area I've already cleared, which keeps the windrows from mixing back together. It sounds fussy but after the third fall it becomes completely automatic.
Step 4: Hold the Blower at the Right Angle
Most people hold a handheld blower pointed straight down at the ground. That blasts leaves in all directions at once and is hard on the wrist because you're fighting the natural position of your arm. The right angle is closer to 20 degrees off horizontal, pointed slightly into the leaf pile at the leading edge. Think of it as skimming the leaves up and forward rather than blasting them from above.
At that low angle the airflow catches underneath the leaf pile and peels it up before pushing it forward. It's actually less tiring than the straight-down position because your wrist is in a more neutral hang and you're not fighting the bounce-back scatter. I discovered this by accident one afternoon when my wrist got sore and I dropped my arm closer to a natural swing. The leaves moved better immediately. I haven't gone back.
The DUB185Z nozzle is on the shorter side compared to some backpack units. That means posture matters more. Keep your elbow close to your side and let your whole arm swing gently rather than flicking just the wrist. Over 40 or 45 minutes that one posture habit makes a real difference in how the arm and shoulder feel when you're done. It also lets you maintain the 20-degree angle without consciously thinking about it.
Step 5: Consolidate Rows and Bag as You Go
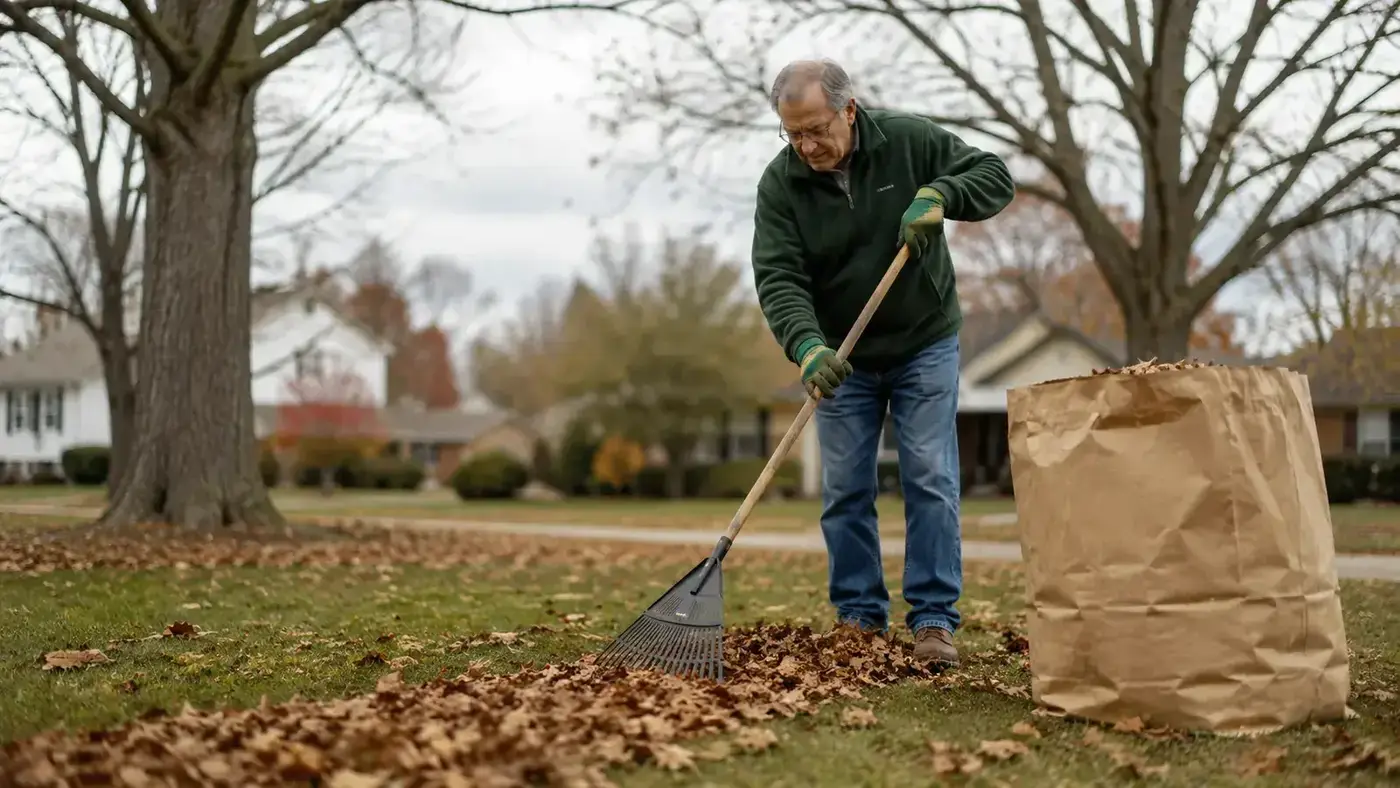
Once I've worked all four quadrants into rows and pushed those rows toward the collection corner, I switch to a rake for the final five to ten minutes. A lightweight plastic leaf rake lets me scoop rows into large paper lawn bags quickly. I know it sounds backward to use a rake after all the blowing, but the blower is the wrong tool for loading bags. Trying to stuff leaves into a bag with a blower just blows them back out. The rake loads fast because the leaves are already consolidated into a neat row.
I bag as I finish each quadrant rather than waiting until everything is in one massive pile. A giant pile of leaves is heavy to shift and collapses on itself when you try to bag it. Four medium rows are much easier to handle, especially if bending is something your back or knees limit. I set up my paper bags open against a fence or wall before I start blowing so I can move directly into bagging when a quadrant is done.
If your municipality offers curbside loose-leaf pickup, skip the bags entirely and blow your windrows directly toward the curb strip on the final passes. That cuts another 15 minutes off the whole job. Check your pickup schedule first so you're not leaving a big pile on the curb through a week of rain.
What Else Helps
A few add-ons that make the difference when you're out there for 45 minutes rather than 10. Good nitrile-coated garden gloves help more than you'd expect. Thick leather work gloves reduce your feel for the trigger and make the blower handle slippery in a light sweat. A thin nitrile coat gives you grip without bulk. My hands stay much less tired compared to bare-handing it or using heavy gloves.
Hearing protection is worth it even with a quieter cordless blower. The DUB185Z runs around 61 dB at the operator position, which is noticeably better than any gas blower I've ever run. But 45 minutes of any sustained noise adds up across a fall season. I keep foam plugs in the pocket of my yard jacket so I never have to hunt for them.
For tight spots around the base of shrubs, along a fence line, or in a corner behind a raised bed, do those areas by hand at the end with a small hand rake. A blower pushes leaves into tight spaces as easily as it moves them forward. Use the blower for the open runs where it excels, and save yourself the frustration of chasing leaves under the arborvitae with a machine that doesn't care where they end up.
One honest note before you buy: the DUB185Z is a handheld blower. If you have more than half an acre under heavy leaf cover, one battery swap session with a handheld unit may not be enough to finish comfortably. For a small to mid-size yard this system keeps me well under an hour. For a larger property or unusually heavy leaf drop, you may want to plan for a second pass or consider a higher-CFM unit. The technique is the same either way.
Good technique is half the battle. A light, reliable blower is the other half.
The Makita DUB185Z is what I reach for every fall. At around 5.3 lbs without the battery it's one of the lighter 18V handheld options out there, and any Makita 18V LXT battery you already own works in it. Worth checking today's price on Amazon before the fall rush.
Amazon Check Today's Price on Amazon →